Laminate Flooring
How To Install Laminate Flooring


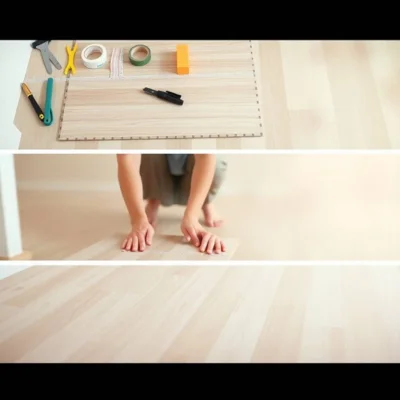
- Acclimate planks 48 hours before installation
- Clean and level the subfloor surface
- Use underlayment for sound and moisture
- Plan plank layout before starting work
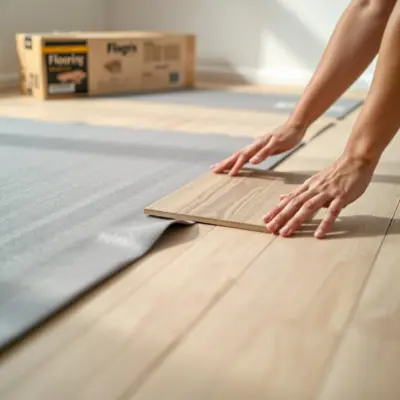
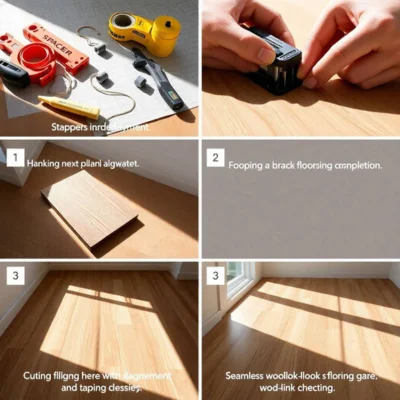
- Start in corner, tongue side out
- Maintain 1/4-inch expansion gaps throughout
- Stagger plank seams for natural look
- Use spacers against all vertical walls
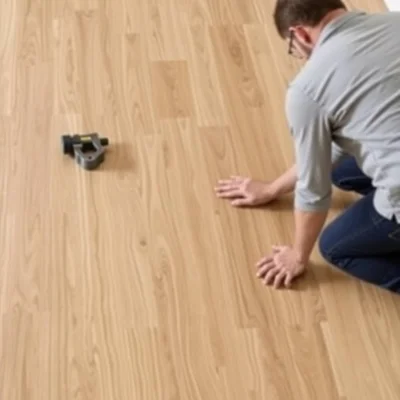
- Click-lock planks securely into place
- Cut planks to fit final row
- Trim around doorways with precision tools
- Install transitions between different flooring types
- Secure stair planks with adhesive, nails
- Avoid installing under fixed cabinetry
- Leave flooring expansion space near pipes
- Use tapping block to avoid damage
- Remove spacers after floor is laid
- Install baseboards or quarter-round to finish
- Clean surface with dry microfiber mop
- Check warranty requirements before installation starts
Upgrading your space with laminate flooring is a smart and stylish way to elevate the appearance of any room. Whether you’re a DIY enthusiast or simply exploring cost-effective flooring solutions, learning how to install laminate flooring can save you money on labor and give your home a refreshed look.
Laminate flooring is designed for easy installation, durability, and a high-end aesthetic making it a popular choice for homeowners and renovators alike. This step-by-step guide walks you through the essential steps to install laminate floors like a pro.
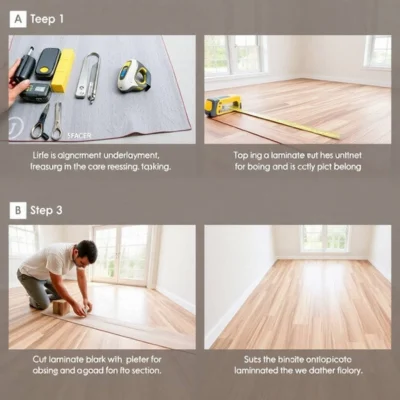
1. Prepare the Subfloor
Before you begin installing laminate flooring, ensure the subfloor is clean, level, and dry. Remove any old flooring, nails, or debris. For installations on concrete, it’s critical to lay a moisture barrier or underlayment to prevent water damage and ensure comfort underfoot.
2. Acclimate Your Flooring
Let the laminate flooring sit in the room where it will be installed for 48 hours. This helps the planks adjust to the room’s temperature and humidity, reducing the chance of expansion or contraction after installation.
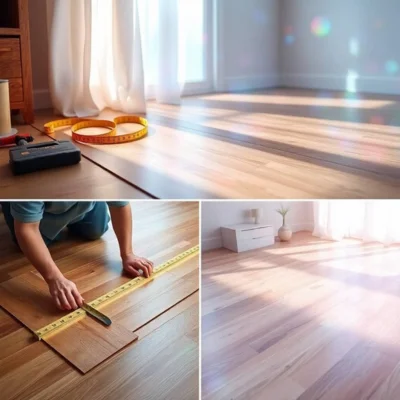
3. Plan Your Layout
Plan the plank direction and measure the room to determine how many rows you’ll need. Stagger the joints between rows to create a natural wood-floor appearance. If installing laminate flooring on stairs, use stair nose molding for a secure finish.
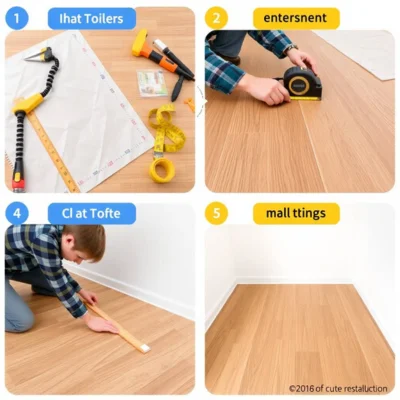
4. Install the First Row
Start by placing spacers along the walls to maintain a consistent expansion gap (usually 1/4 inch). Place the first plank in the corner with the tongue side facing the wall. Click or lock the planks together as you move down the row.
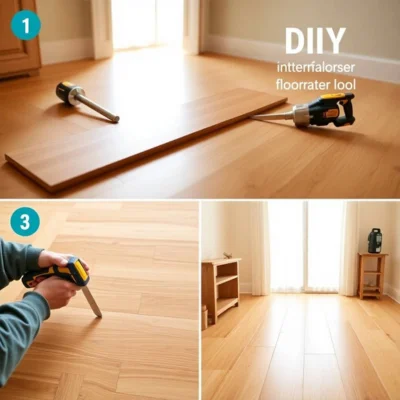
5. Continue Laying Planks
Use a tapping block and pull bar to snugly fit each plank without damaging the locking mechanism. Trim planks as needed using a circular saw or laminate cutter. For doorways or tight spaces, a jigsaw may provide better control.
6. Finish the Edges
After laying all planks, remove the spacers and install baseboards or quarter-round molding to cover the expansion gap. For stair installations, secure planks with construction adhesive and fasteners according to manufacturer instructions.
Why Choose Laminate Flooring?
Laminate flooring offers a durable, low-maintenance solution that mimics the beauty of hardwood at a fraction of the price. The cost to install laminate flooring is often lower than other materials, and with proper installation, it can last for decades.
| Model | Laminate-Flooring-Install-Kit |
| Finish | Natural Woodgrain or Stone-Look (varies by selection) |
| Material | High-Density Fiberboard Core with Laminate Overlay |
| Compatible Flooring Types | Water-resistant and standard laminate flooring Suitable for click-lock, tongue-and-groove systems |
| Installation Method | Floating floor No glue or nails required |
| Recommended Subfloor | Clean, dry, level surface Compatible with plywood, concrete, vinyl, tile |
| Underlayment Required | Yes use foam, cork, or vapor barrier underlayment as appropriate for moisture levels |
| Room Suitability | Living rooms, bedrooms, hallways, dining areas Optional use in kitchens, basements, or laundry rooms with waterproof variants |
| Tool Requirements | Tapping block, pull bar, spacers, utility knife, jigsaw or laminate cutter |
| Edge Style | Beveled or square-edge based on flooring selection |
| Expansion Gap | Leave a 1/4-inch expansion gap around walls and fixed objects |
| Trim and Accessories | Thresholds, end caps, quarter round, and stair nosing recommended for a clean finish |
| Floor Compatibility | Not for use over carpet or uneven subfloors |
| Estimated Installation Time | 1-2 days for average-size rooms (15-300 sq ft) |
| Safety and Care Tips | Residential and Light Commercial |
When it comes to laminate flooring, proper installation is key not only for appearance and performance but also to ensure your flooring warranty remains valid. Understanding warranty terms and the correct installation process helps protect your investment and gives you peace of mind for years to come.
Stainmaster Laminate flooring warranties typically cover manufacturer defects, wear-through, staining, fading, and sometimes moisture resistance. However, these warranties are only upheld when floors are installed according to the manufacturer’s approved methods and under the specified conditions.
To maintain warranty coverage, follow these important guidelines:
1. Acclimation Matters
Let the laminate planks acclimate to the room for at least 48 hours before installation. Failure to do so can result in expansion or contraction that voids warranty terms.
2. Use Approved Underlayment
Always install the flooring over an approved underlayment, especially when placing it over concrete or tile. Moisture barriers are essential for installations over concrete subfloors.
3. Leave Expansion Gaps
Proper spacing around walls and fixed objects (typically 1/4 inch) is required. Skipping this step can cause buckling, which is not covered under warranty.
4. Follow Manufacturer Instructions
DIY or professional, it’s essential to follow exact installation procedures. Using incorrect tools, adhesives, or techniques can disqualify a warranty claim.
5. Keep Records
Retain proof of purchase and document the installation process. This helps validate any warranty claim, should the need arise.
By following the proper steps for installation, your laminate flooring will deliver durability and long-lasting performance. Most importantly, you’ll preserve the protection your warranty provides, ensuring your floors stay beautiful and functional for years to come.

WORKPRO Laminate Wood Flooring Installation Kit with Reinforced Double-Faced Mallet, Heavy Duty Pull Bar, Tapping Block and 30-Piece Spacers Included

EZARC 64-Piece Laminate Wood Flooring Installation Kit with Reinforced Double-Faced Mallet, Heavy Duty Pull Bar, Tapping Block, Foam Kneepads and 60 Piece
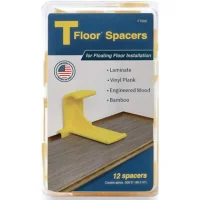
Laminate Flooring Spacers : for Installing Laminate Wood, Vinyl Plank, Engineered Hardwood, LVT, Bamboo, Subfloor Panels, or Any Floating Floor Material
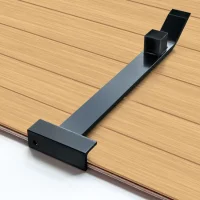
Heavy Duty Pull Bar and Pry Bar, NAACOO Flooring Tools, Weight 3.7lb/Solid Square Steel Block & Steel Angle Hammering Durable, Fully Felted Bottom – Professional Pull Bar
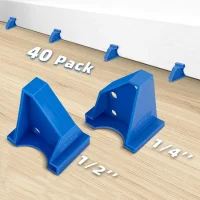
Upgraded 40 Pack Flooring Spacers Laminate Flooring Installation Kit with 1/4” & 1/2” Gap, Wood Floor Install Tool for Laminate, Vinyl Plank, Hardwood, LVT