How to Cut Vinyl Flooring
How To Cut Vinyl Wood Plank Flooring


- Measure twice before making any cuts
- Use a sharp utility knife always
- Score plank, then snap cleanly
- Cut with straightedge for precision
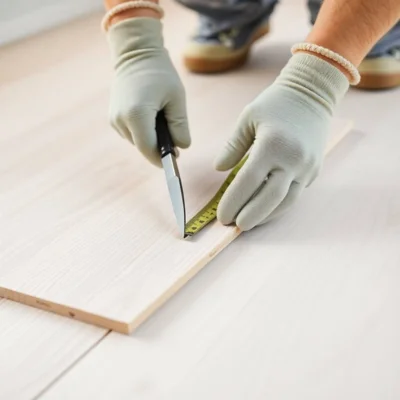
- Mark cut lines with pencil guide
- Use jigsaw for curved edge cuts
- Handle thick planks with fine saw
- Template around toilets with cardboard
- Cut tiles using score-and-snap method
- Always cut on a flat surface
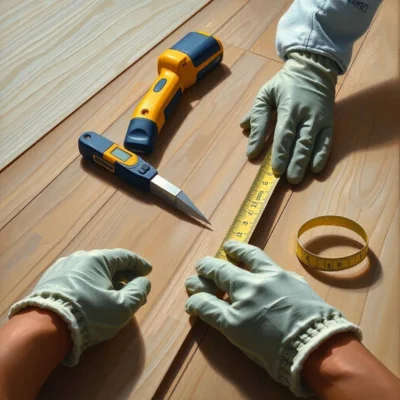
- Wear gloves for added hand safety
- Cut from finished side downward
- Check fit before final installation
- Keep spare blades for cleaner cuts
- Avoid rushing complex shape cuts
- Use clamps to stabilize during sawing
- Cut lengthwise using straight-edge guide
- Use shears for smaller trim areas
- Dry fit pieces before adhesive use
- Clean edges with light sanding pass
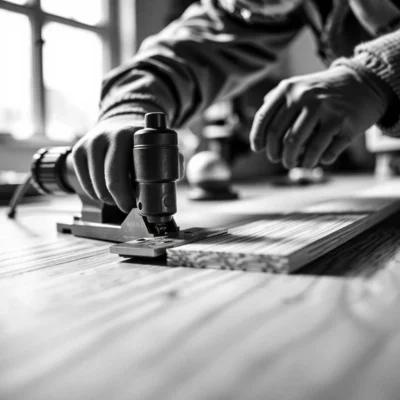
Cutting vinyl flooring correctly is essential for a seamless installation and a professional finish. Whether you’re working with vinyl plank flooring, vinyl floor tiles, or thick wood-look vinyl boards, knowing how to cut them accurately can save time, reduce waste, and improve the durability of your floors.
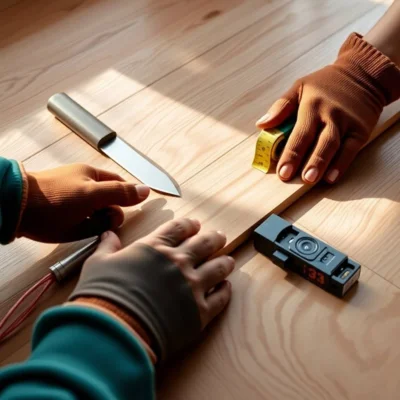
Tools You’ll Need
Before you begin, make sure you have the right tools. For basic straight cuts, a sharp utility knife and straightedge are often all you need. For more intricate shapes like cutting vinyl flooring around a toilet, cabinets, or door jambs use heavy-duty scissors, a jigsaw, or a rotary tool.
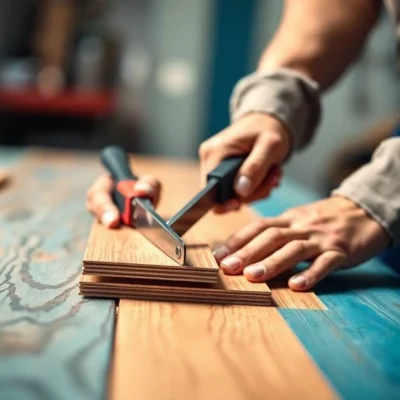
Cutting Vinyl Plank Flooring
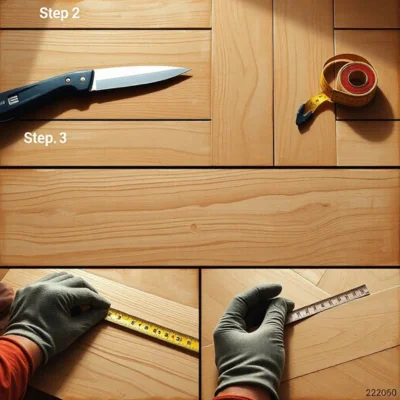
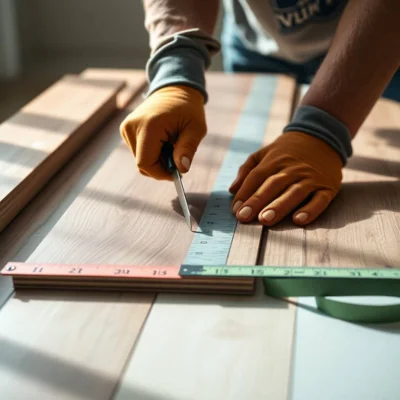
To cut vinyl plank flooring, measure and mark your cut line with a pencil and straightedge. Score the surface firmly with a utility knife, then snap the plank along the score. For lengthwise cuts or when dealing with thicker vinyl plank flooring, you may need a fine-toothed saw for better control and cleaner edges.
Handling Complex Cuts Around Objects
Cutting vinyl flooring around objects such as toilets or odd corners requires templating. Use cardboard to trace the contour, then transfer it to the vinyl plank or tile. Carefully cut with utility shears or a jigsaw for curved or detailed cuts.
Tips for Cutting Vinyl Floor Tiles
Vinyl tiles are typically thinner and easier to cut. Use the score-and-snap method, or scissors for small modifications. Always lay the tile flat and ensure precise measurement, especially when cutting multiple pieces.
Common Challenges and Solutions
When learning how to cut thick vinyl plank flooring or how to cut vinyl plank flooring lengthwise, a common issue is edge chipping. Using a sharp blade and cutting slowly reduces damage. For precise fitting around fixtures, always double-check measurements before cutting.
Why Cutting Vinyl Correctly Matters
Improper cuts can lead to visible gaps, uneven edges, or poor sealing potentially allowing moisture to seep under the floor. A clean, accurate cut ensures the vinyl flooring clicks together tightly, enhancing longevity and appearance.
This guide supports DIYers and contractors in mastering how to cut vinyl flooring in all its forms: planks, tiles, and complex shapes. Browse our full range of vinyl flooring tools and accessories to make your installation process smooth and professional.
| Category | Flooring Installation Tools & Techniques |
| Cutting Method | Score-and-snap or utility knife method |
| Tool Type | Heavy-duty utility knife, straight edge, jigsaw (for intricate cuts) |
| Compatible Flooring Types | Luxury Vinyl Plank (LVP), Vinyl Tile (LVT), Sheet Vinyl |
| Blade Type | Carbon steel or replaceable snap-off blades |
| Material Support | Cutting mat or plywood backing recommended |
| Cut Direction | Scoring along the top wear layer |
| Edge Finish | Smooth with minimal chipping when scored correctly |
| Use Case | Straight cuts, angle cuts, around corners, or fixtures |
| Safety Gear | Cut-resistant gloves and safety goggles recommended |
| Dust Production | Minimal ideal for indoor DIY projects |
| Installation Prep | Measure twice, mark with pencil, cut once |
| Noise Level | Low silent or minimal noise when scoring |
| Weight Consideration | Lightweight tools; easy to handle for home use |
| Clean-Up | No dust collection needed; easy sweep-up |
| Storage | Store blades in dry, cool area with guards |
| Skill Level | Beginner to intermediate; minimal training required |
| Project Application | Kitchens, bathrooms, basements, living areas |
| Surface Prep Compatibility | Ensure subfloor is flat before cutting to fit |
| Compliance | Meets general flooring installation safety standards |
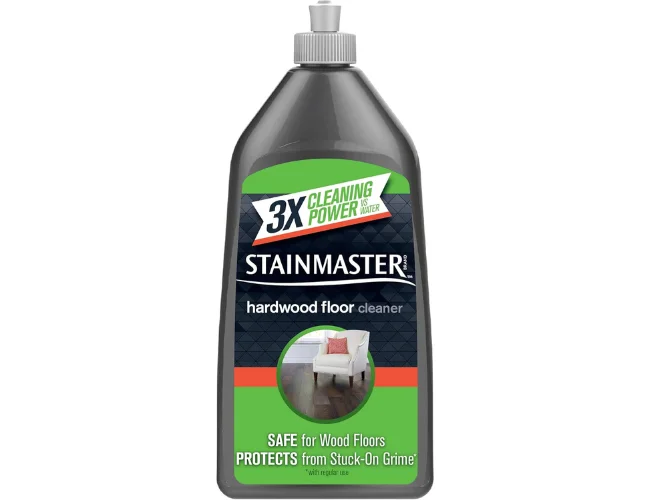
Cutting vinyl flooring accurately is not just a matter of aesthetics it’s essential to maintaining your product’s warranty. Most Stainmaster vinyl flooring warranties require proper installation methods, and improper cutting techniques can easily void coverage. Understanding the correct cutting process and following manufacturer-recommended tools and practices is key to preserving your warranty protection.
Warranties on vinyl flooring generally cover defects in materials, wear resistance, and performance under normal residential use. However, if flooring is damaged due to poor installation such as jagged edges from improper cutting, loose planks from misaligned seams, or excessive force leading to cracking the warranty is likely to be invalidated.
To remain within warranty guidelines, always use the recommended tools: utility knives for straight cuts, jigsaws for curves, and proper underlayment for cushioning and support. Avoid using dull blades or improvising with tools that can splinter or damage the plank edges. Also, make sure to follow the acclimation guidelines cutting and installing flooring that hasn’t adjusted to room temperature and humidity can lead to expansion issues that void coverage.
Documenting your installation process, including cuts made to fit around fixtures, walls, and obstacles, can support warranty claims if needed. If you’re unsure, consult the product’s official installation guide or hire a certified flooring professional to ensure compliance.
Cutting vinyl flooring correctly not only results in a polished finish but also protects your investment. By following proper techniques and avoiding shortcuts, you preserve both the functionality and the warranty of your flooring giving you peace of mind and long-term value.
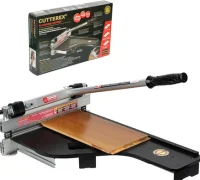
13″ Professional Floor Cutter – No Dust, No Noise, No Electricity Multi-Angle Cuts for Laminate, Vinyl, Wood & More, Pro. ALU Long Leverage Handle, Longlife HSS Blade, Safe & Easy to Use

Laminate/Vinyl Floor Cutter with Extra Blade for Work Efficiently,13“ Vinyl Plank Cutter with Wheel – Just 1 Step Meet Angle&Length Cutting, Flooring Tools-Cuts LVP, Engineer Wood, VCT, SPC, WPC.

WORKPRO 13″ Laminate Floor Cutter, Vinyl Floor Cutter for Laminate, Multi-layer Flooring, Parquet, Fiber Cement Wall Panels, Rubber Concave Base, LVT, VCT, SPC, LVP, WPC and Vinyl Plank
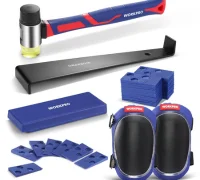
WORKPRO Laminate Flooring Installation Kit – Rubber Mallet with Fiberglass Handle, Knee Pads, Heavy Duty Pull Bar, Solid Tapping Block and Spacers – Premium Wood Flooring Installation
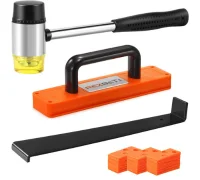
REXBETI Laminate Wood Flooring Installation Kit, LVP Installation Kit, Vinyl Flooring Tools – Tapping Block with Handle, Pull Bar, Double-Faced Mallet and Spacers